
Do you want to set up a Jenkins server but avoid the pain of manual installation? You can do this by installing Jenkins on Ubuntu using a Jenkins Docker container!
This is a hands-on walkthrough of the steps to install Docker, start a Jenkins container, open port 8080, and complete the initial Jenkins setup.
Let’s get to work!
Step 1: Install Docker on Ubuntu Server

The advantage of running an application as a container is that you don’t need to install much software. If you use Docker for containerization, you only need to install Docker!
Follow these steps to complete the first task of setting up Jenkins on an Ubuntu server using the official Jenkins Docker container:
- As standard practice, always update the application manager by executing “apt update”
sudo apt update
- After updating the Ubuntu application manager, execute “docker” to get the commands needed to install the application.
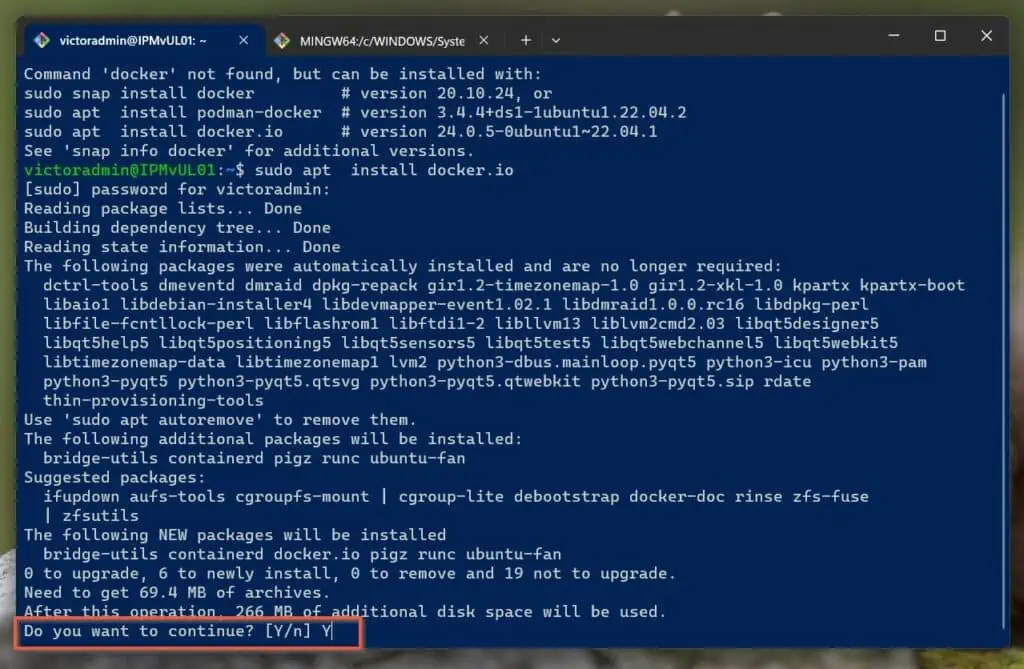
When you execute “docker”, since the application is not yet installed, Ubuntu will pass back a list of commands you can execute to install it.

I will run the following command (highlighted in the screenshot above) – to install Docker on my Ubuntu server;
sudo apt install docker.io
When executing this command, you will be prompted to enter the root password. If you are new to Linux and wondering why; it’s because of the use of “sudo” in the command.
Continue, after entering the root password, the installer will prompt you to confirm the installation. Type “Y” and press Enter.
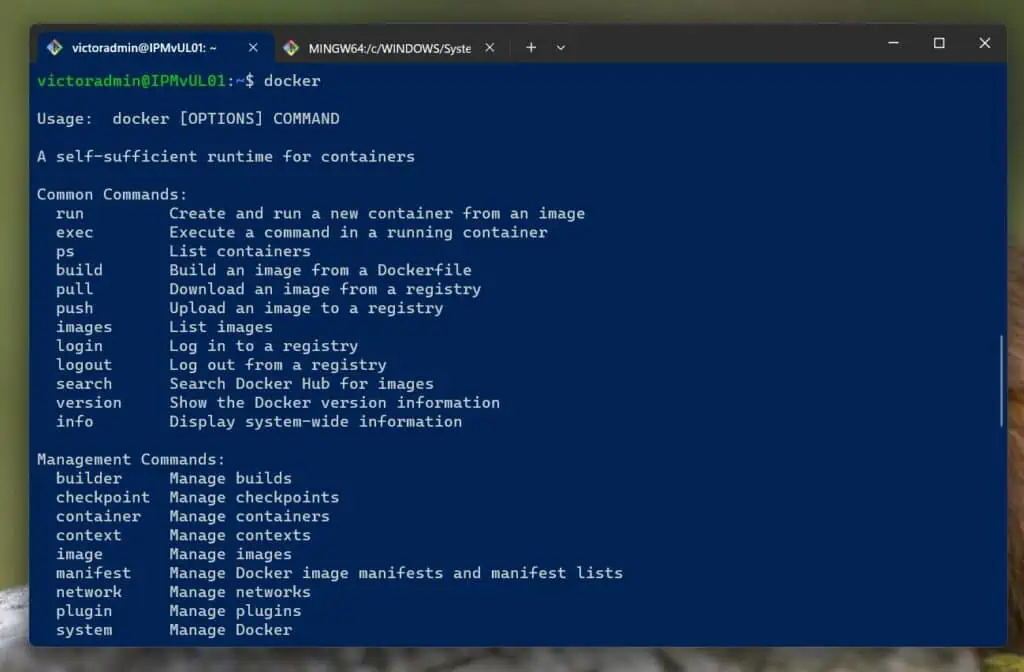
Wait for Docker to install before proceeding to step 2 below. Before continuing, please confirm that Docker is installed by executing the “docker” command.
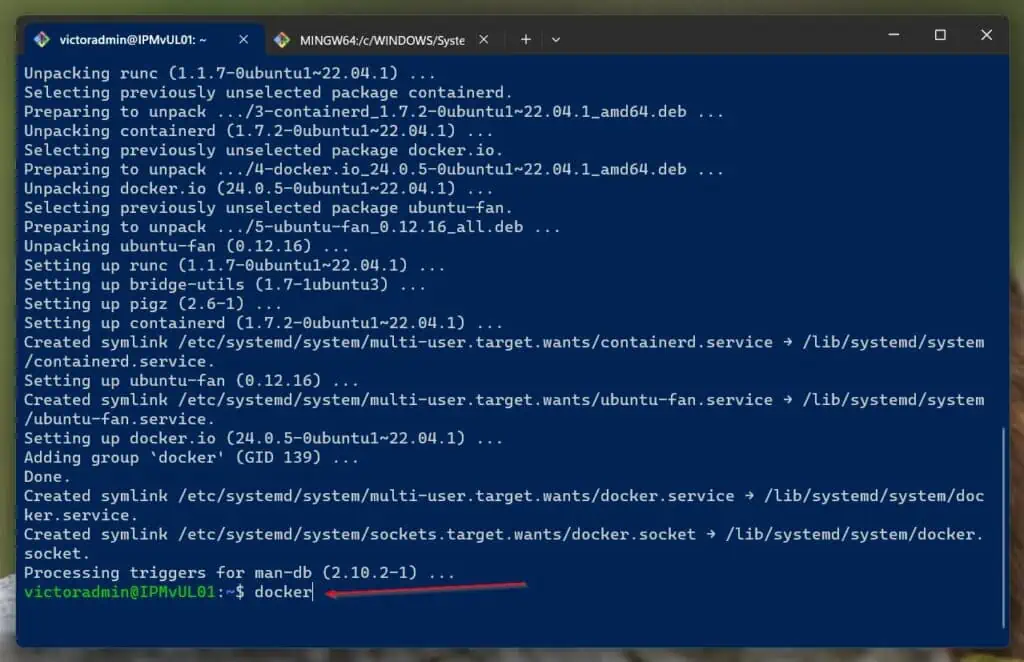
Since Docker is now installed, it will display information with some details about the command.
Step 2: Start the Jenkins container using the Docker volume

After installing Docker on your Ubuntu server, the next step in setting up Jenkins is to launch the Jenkins container using a Docker volume.
Wondering why we need to use Docker Volume to launch Jenkins containers? Data changes in Docker containers are not persistent – this means that if the application running as a container makes some changes, it will lose the data when the container is restarted. To prevent this from happening, you can use Docker Volume to synchronize the data on the container to a specified directory on the host machine (in this case, the Ubuntu server) – more about Docker Volume later.
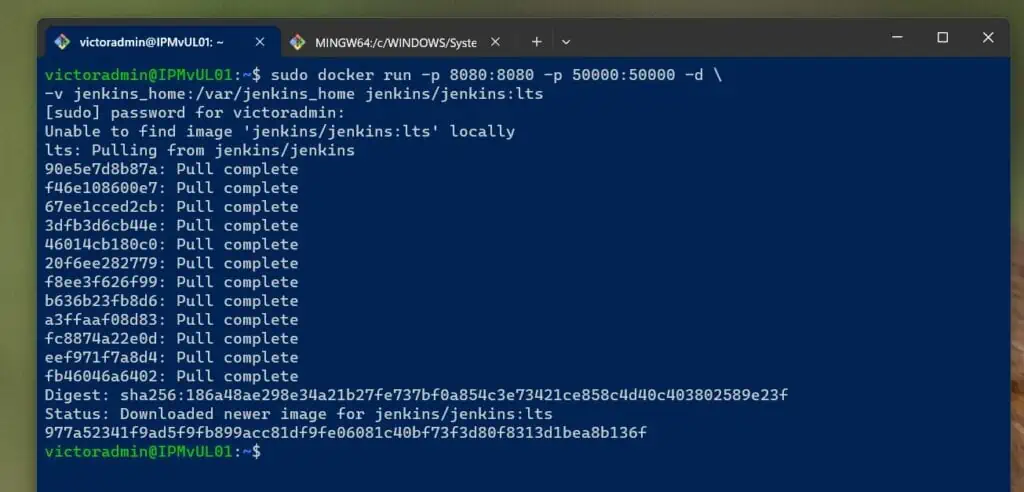
To start a Jenkins container on an Ubuntu server using the official Docker image, execute the following command:
sudo docker run -p 8080:8080 -p 50000:50000 -d \
-v jenkins_home:/var/jenkins_home jenkins/jenkins:lts
The command and its parameters are explained below:
terminal run – This is the Docker instruction used to launch a Docker container from an image
-p 8080:8080 – The “-p” switch is used to map the port where the application container runs to the port on the host. In this example, the first port 8080 represents the port on the host machine (my Ubuntu server).
Likewise, the second port 8080 is the container’s application. It is worth noting that to access Jenkins through a browser, please use port 8080.
so, -p 8080:8080 This means “Map the container’s port 8080 to the host’s port 8080. Note that the two ports do not have to be the same.
For example, if port 8080 is not available on my host, I can use -p 8081:8080 – This will map the Jenkins port 8080 to the host’s port 8081.
-p 50000:50000 – This switch is optional, but I’m including it for completeness. However, in a production environment this may be necessary for the following reasons:
If you need a Jenkins server to handle larger workloads, you may need to set up a Jenkins cluster.
Port 50000 is the port for communication between the Jenkins master node and the worker node. Therefore, it is also important to map the port to the host.
-d – This switch causes Docker to run Jenkins in “detached” mode. This means that the Jenkins container program is running in the background.
Setting up a Jenkins Docker container in this way on an Ubuntu server or any operating system allows you to close the terminal without stopping the container program.
-v jenkins_home:/var/jenkins_home – You guessed it, “-v” stands for volume! Previously, I explained that to persist data on a Jenkins container, you must add a Docker volume.
“Jenkins homepage” is the name of the Docker volume where data is synchronized on the container – more on that later. But, that “/var/jenkins_home” is the path where the Jenkins Docker container saves data.
By specifying “-v jenkins_home:/var/jenkins_home,” I asked Docker to create a volume on my Ubuntu server and synchronize the container’s data on the path /var/jenkins_home to the same path on the host.
jenkins/jenkins:lts – This is the name of the Jenkins Docker image. The first part (before the “:”) is the image name.
Meanwhile, the second part (“lts”) is the “tag” or version of the image you want to use. You can learn more about available tags on the official Jenkins Docker Hub page.
Now that you know the parameters of the command to install Jenkins on Ubuntu by starting a Docker container, let’s execute the command.
The command pulls the image in “Layers” from Docker Hub and starts the Jenkins container.
Before moving on to the next step, let’s execute some commands to provide information about the Jenkins container, starting with “docker ps”:
sudo docker ps
The “docker ps” command confirms that the Jenkins container has started successfully
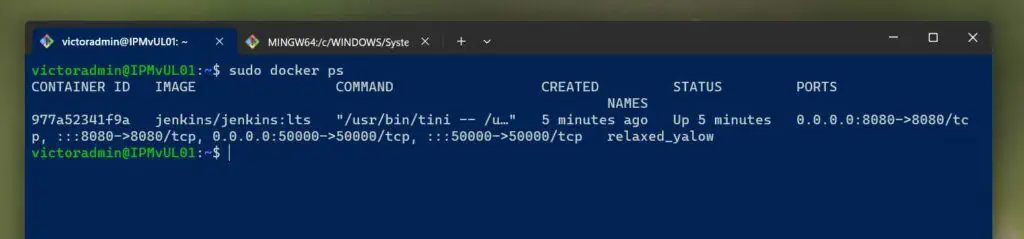
There is a lot of information about containers, but I want to focus on ports. Port “0.0.0.0:8080->8080/tcp, :::8080->8080/tcp” – the first one is IPv4, the second one is IPv6 – means that the host’s port 8080 corresponds to the same port container.
Similarly, the values ”0.0.0.0:50000->50000/tcp and :::50000->50000/tcp” are the port mappings of the Jenkins master node and worker node.
After looking at the results of the “docker ps” command, let’s take a look at another important command that provides information about Docker volumes:
sudo docker volume inspect jenkins_home
This command displays useful information about Docker volumes, Jenkins homepage Created when we start the Jenkins container. By the way, this type of Docker volume is called a “named” volume.
Returning to the results of the previous command, here is the screenshot.
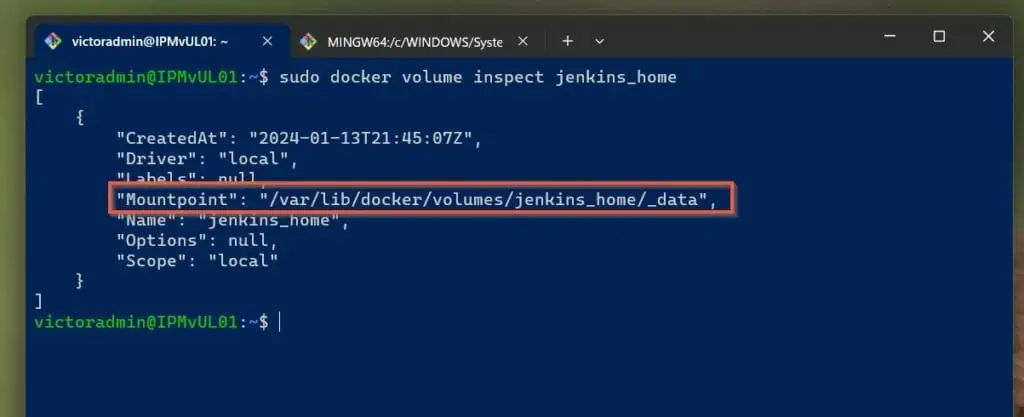
I highlighted “Mountpoint” because this is where the Jenkins data is stored on the Ubuntu server (container host). To display the information in the path, let us execute the “ls” command.
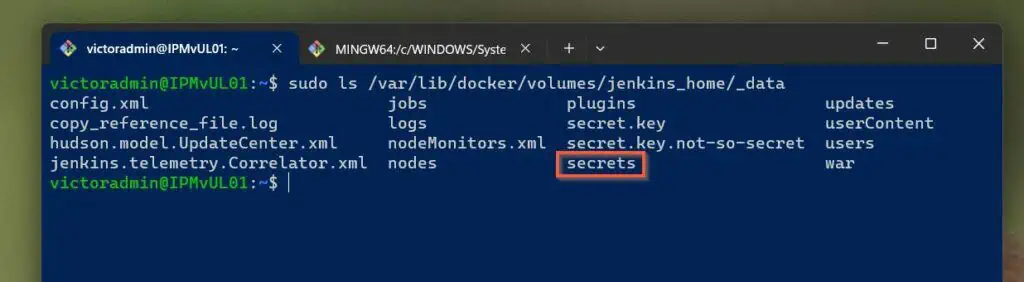
sudo ls /var/lib/docker/volumes/jenkins_home/_data
The command shows multiple archives and directories, but now, I want to highlight the “secrets” directory. This is because this folder contains the initial password we need to log into Jenkins – more on this later.
Step 3: Confirm that port 8080 is open on the Ubuntu server

Before continuing with the demos in this section, you must install Remote login on your computer and Internet statistics on your Ubuntu server.
So far, we have covered the two steps of deploying Jenkins on Ubuntu using the Jenkins Docker container.
During this process, we have determined that Jenkins is available on port 8080. So, since Jenkins is on that port, we should be able to access it by typing “Server IP address: 8080” into the browser.
However, before that, we first confirm that port 8080 is open on the server. First, execute the telnet command from your computer:
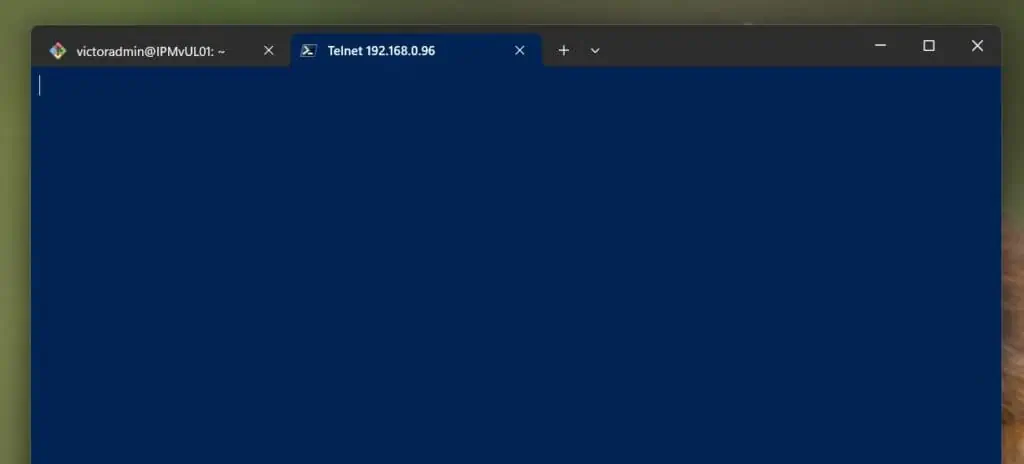
192.168.0.96 is the IP address of my Ubuntu server, and (as we’ve already established) 8080 is the Jenkins port. If port 8080 is open, the connection should be established and you will see a blank screen.
telnet 192.168.0.96 8080
Another way to check if port 8080 is open is to use the Port Viewer application on your Ubuntu server. To display this message, execute the following command on the Ubuntu server:
sudo netstat -tulpn | grep :8080
This command confirms that our Jenkins Docker container is listening on port 8080 for all incoming connections IPV4 and IPV6.

Step 4: Complete the initial Jenkins configuration

Now that we have ensured that port 8080 is open on the Ubuntu server, it’s time to move on to the final step – completing the initial Jenkins configuration.
Please follow the steps below to complete the final stages of installing Jenkins on Ubuntu:
Enter the IP address of the Ubuntu server, then enter “:8080” in the browser. In my example, my Ubuntu server’s IP address is 192.168.0.96, I would enter:
192.168.0.96:8080
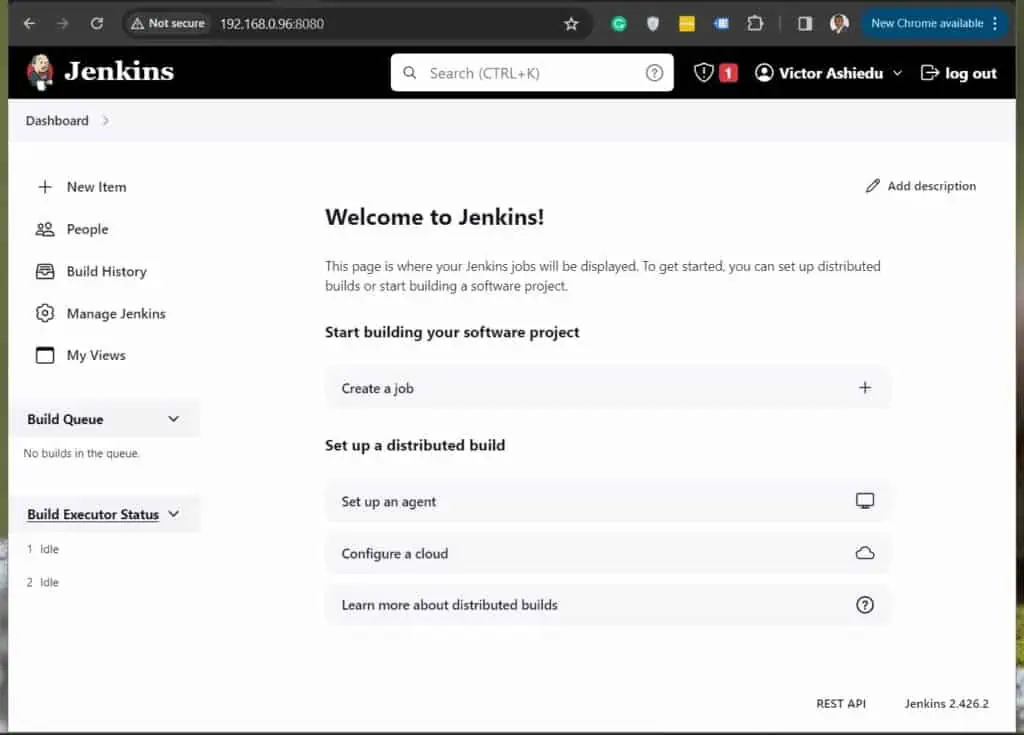
And, boom, Jenkins is on his feet! Well, not quiet.
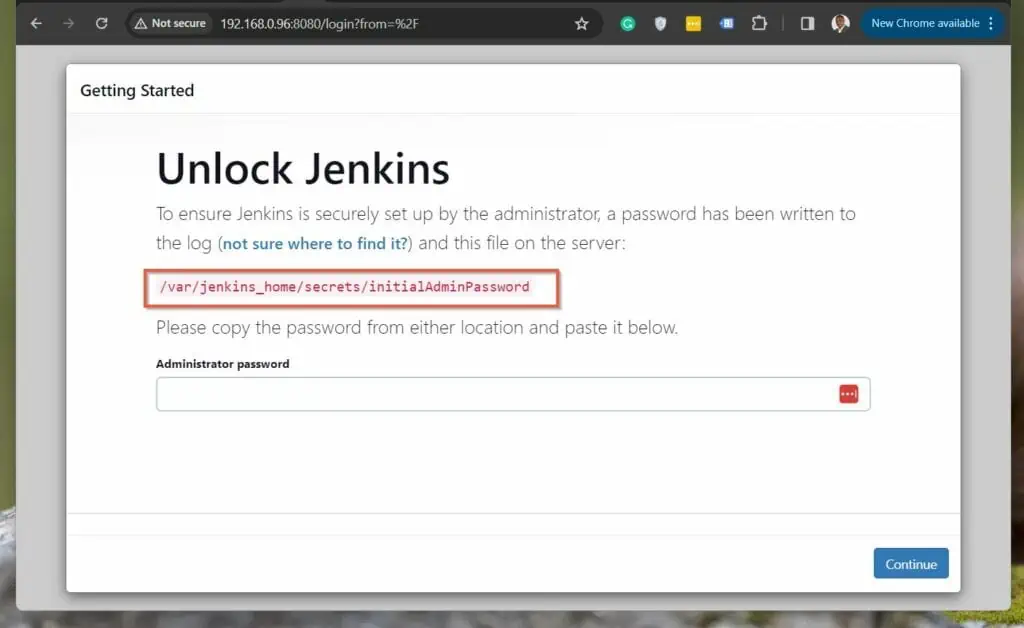
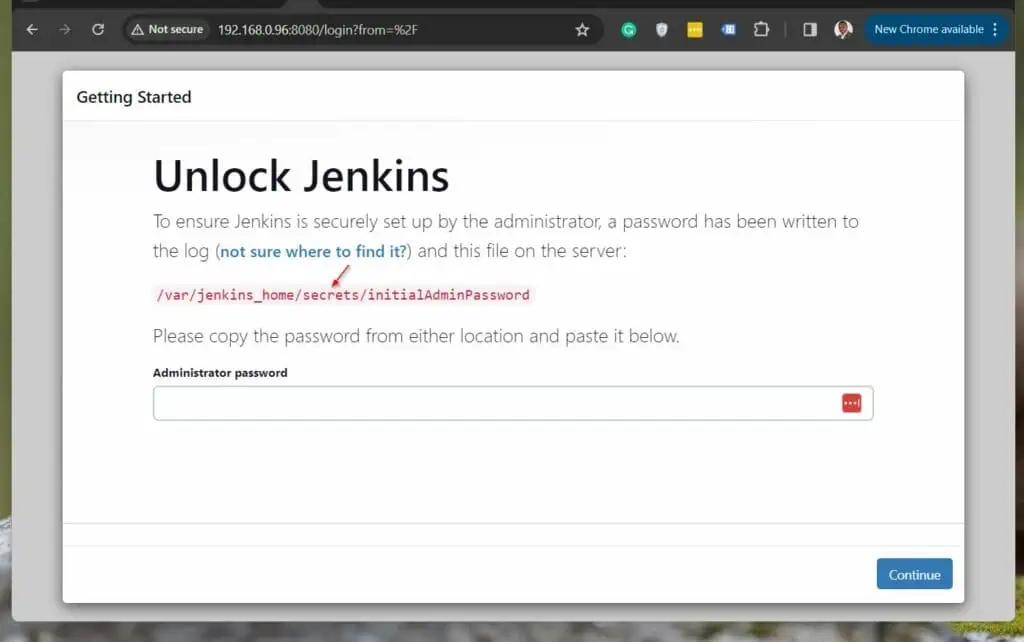
The first page of Jenkins configuration requires us to enter the administrator password. Before you panic, Jenkins provides a path to save this password – see the highlighted section in the screenshot above.
If you remember, I mentioned this in step 2 when discussing this command.
sudo ls /var/lib/docker/volumes/jenkins_home/_data
Wait, but the path in the above command is different from the path in the initial Jenkins setup page shown earlier!
Yes.
path – /var/lib/docker/volumes/jenkins_home/_data – is the path to the Docker volume installed on Ubuntu. However, /var/jenkins_home/ is the Jenkins directory on the container.
We can get the initial Jenkins admin password from two paths, but for this guide, I will get the password from the volume mount point – /var/lib/docker/volumes/jenkins_home/_data.
So, let’s look at the output of this command again:
sudo ls /var/lib/docker/volumes/jenkins_home/_data
As I mentioned before, the _data directory has a directory called “secrets”.
This is the same as the “secrets” directory in the Jenkins configuration page.
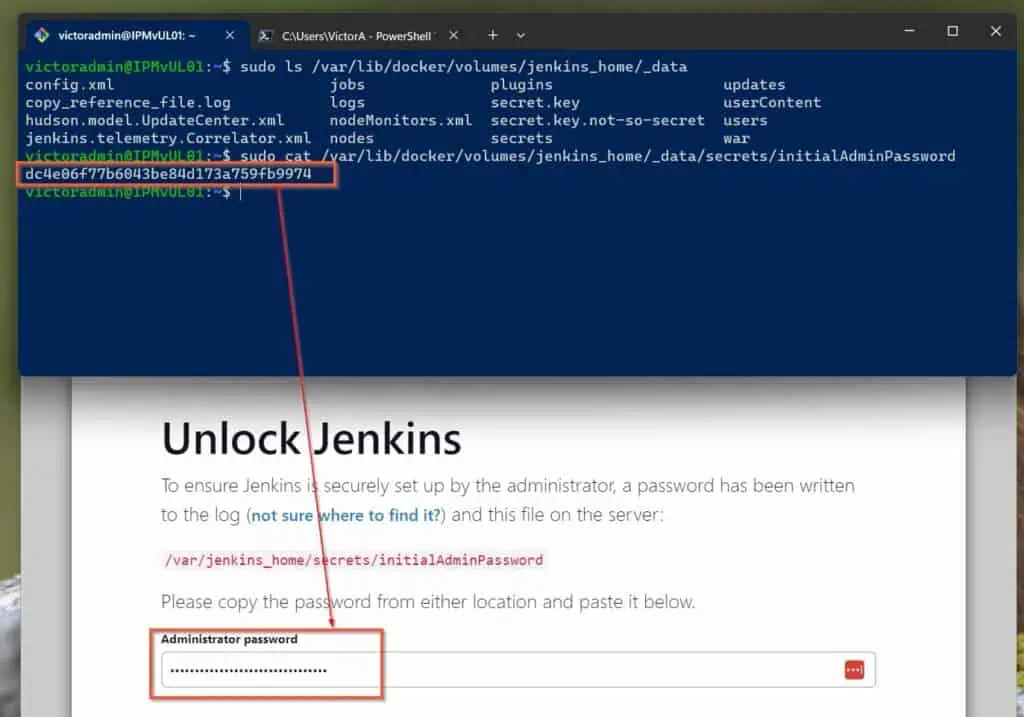
Anyway, to retrieve the administrator password, use the following cat command:
sudo cat /var/lib/docker/volumes/jenkins_home/_data/secrets/initialAdminPassword
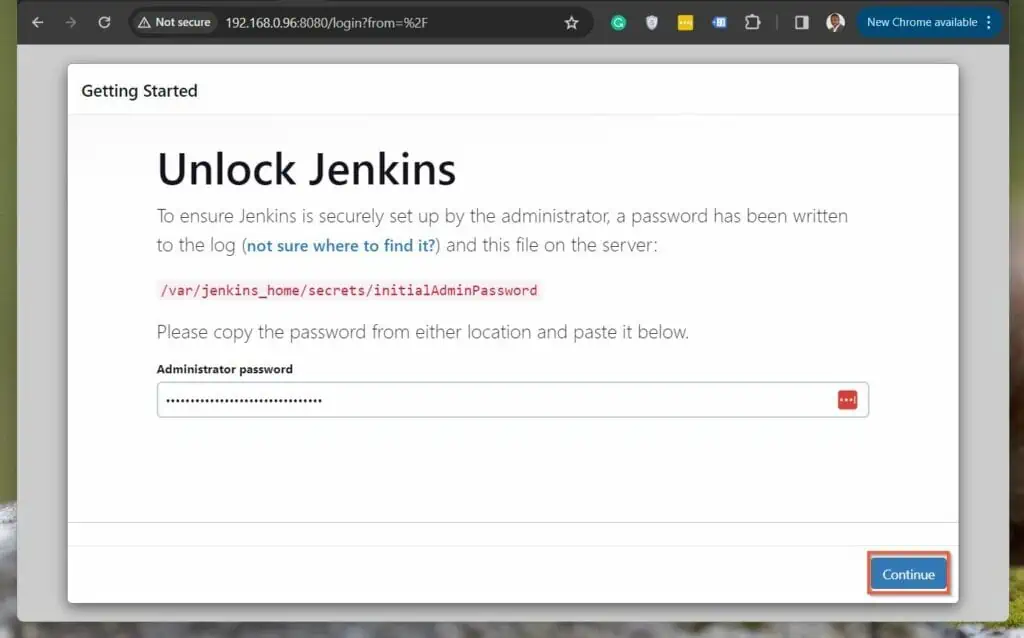
And your administrator password. Copy the password and paste it into the “Administrator Password” field in Jenkins “Getting Started”.
After entering your password, click Continue to continue with the initial Jenkins server setup.
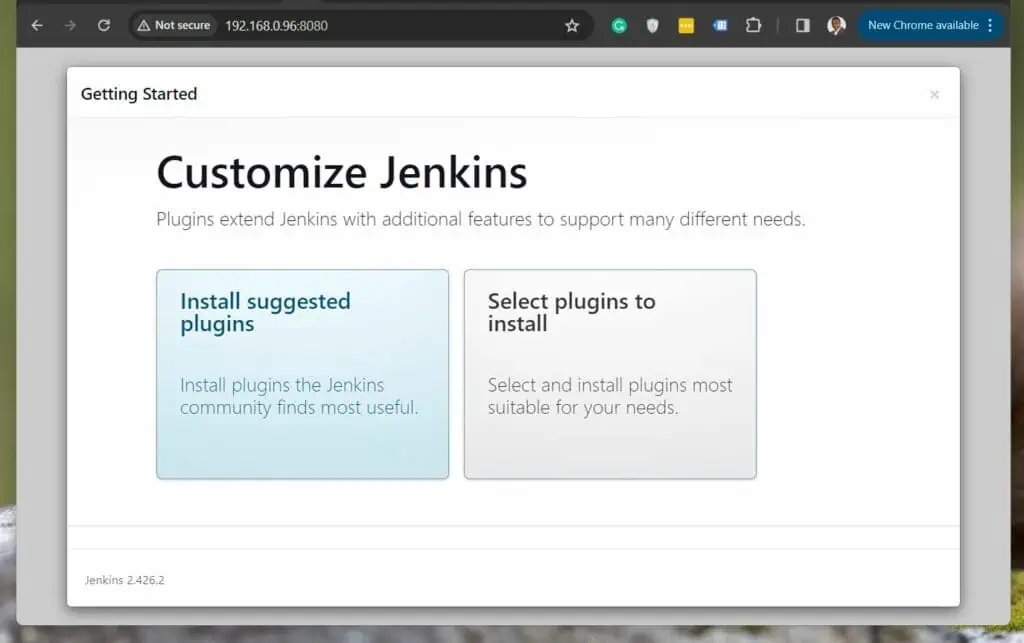
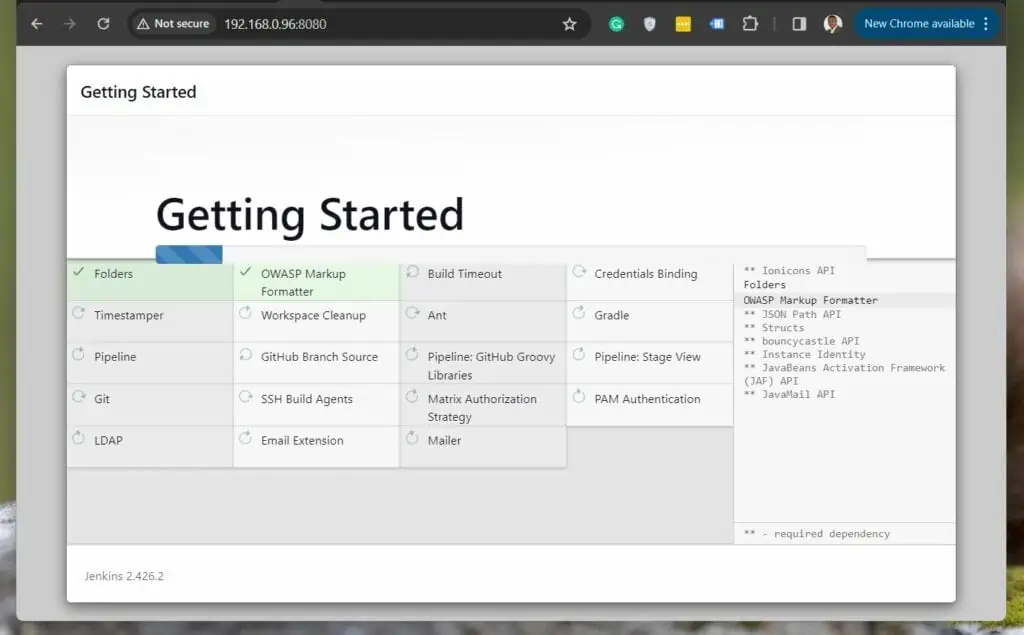
On the next page, select the default “Install recommended plug-ins.” Then, wait for Jenkins to install the plugin.
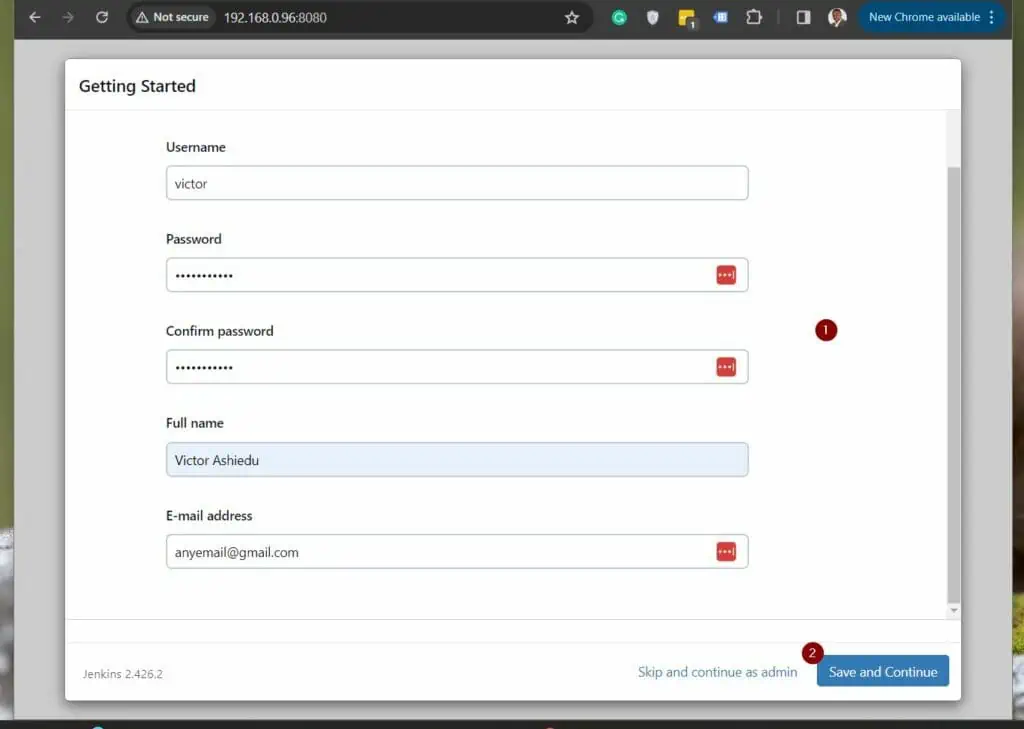
Finally, create the first Jenkins administrator.
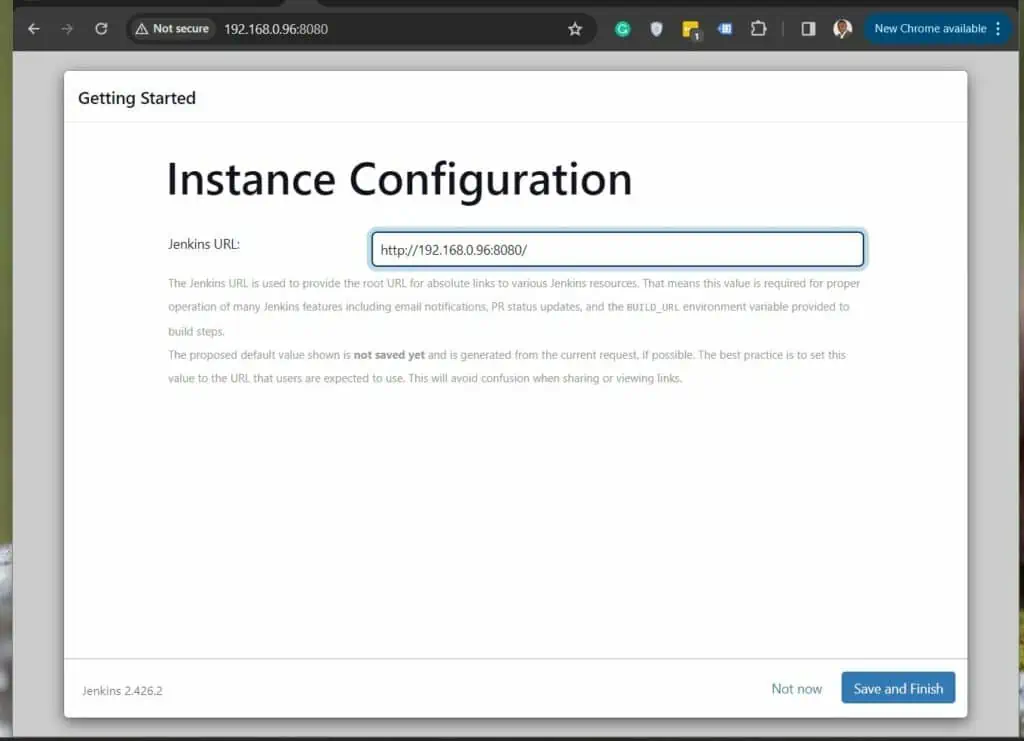
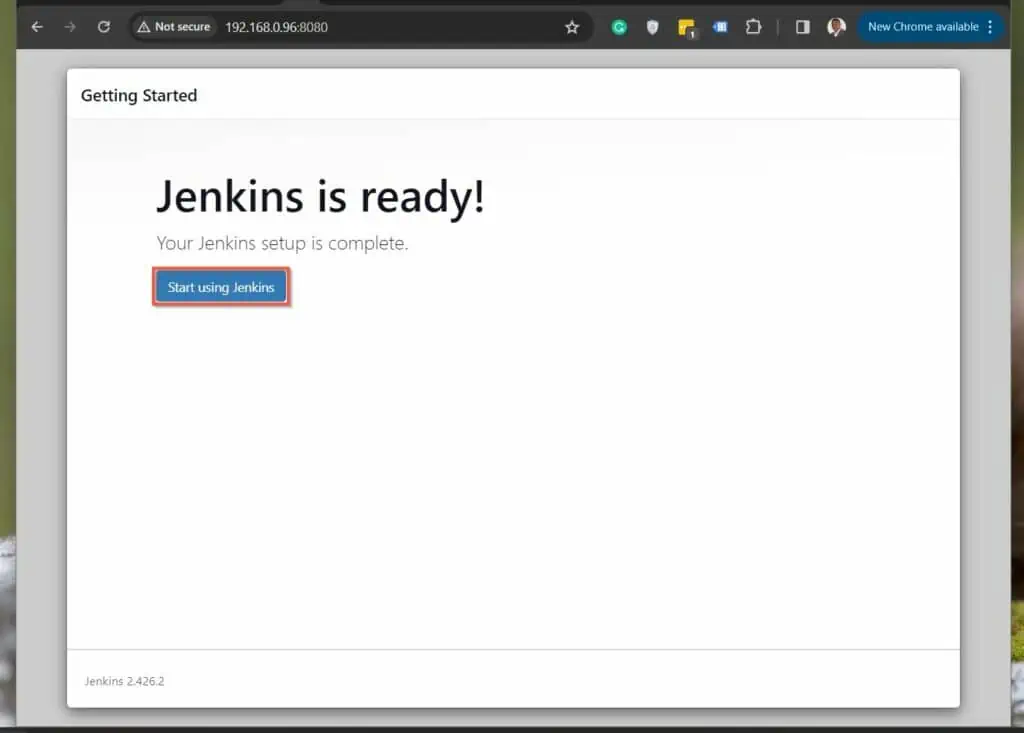
Finally, confirm the Jenkins server URL and port and complete the initial setup.
I hope that by following this guide, you can successfully set up Jenkins on Ubuntu using Docker containers! If you have any questions, please let us know via the comment form at the end of this page.
Other useful resources
- Roustabout
- Docker Hub Container Image Library | Application Containerization
- Jenkins – Build great things at any scale
- Jenkins Docker container
- Docker volumes
3 Comments
Pingback: How to install Jenkins on Ubuntu using Docker containers – Tech Empire Solutions
Pingback: How to install Jenkins on Ubuntu using Docker containers – Mary Ashley
Pingback: How to install Jenkins on Ubuntu using Docker containers – Paxton Willson