")
Are you having trouble installing Linux Mint on Hyper-V on your Windows 11 PC? You are not alone!
I had some issues while trying it, but eventually succeeded, so I’ll share my experience in this guide.
Here are the steps I took to install Linux Mint 21.2-cinnamon-64bit on Hyper-V (Windows 11).
This installation step is for Linux Mint 21.2-cinnamon-64bit. I can’t guarantee that these exact steps will work on other versions, but I suspect they should.
Step 1: Download the Linux Mint ISO
Please follow the steps below to download the ISO installation image.
- Open LinuxMint.com and hover your mouse over download and click the link for the latest version.

- After that, click “Download”. Then, on the main download page, scroll down to “Cinnamon Edition” and click the download link.


- Finally, to download Linux Mint “Cinnamon Edition”, click the “Download link “64-bits” link next to “Torrent Download”.

Step 2: Create a Generation 2 Hyper-V virtual machine
After downloading the ISO image, you must create a VM in Hyper-V Administrator before installing Linux Mint. Here are the steps.
- Open Hy-Per Manager, right-click on the computer name and point to newthen select virtual machine…

- Finally, follow the screenshot below to create a Gen 2 Hyper-V VM to install Linux Mint.
vLAN, “Network” in the fourth screenshot is connected to the network. Likewise, in the 6th screenshot, use the ISO image you downloaded in the previous section.


- After creating the virtual machine, open the Settings page (right-click the virtual machine and select Settings).

- Then, follow these screenshots to deactivate Secure Boot.

Step 3: Install Linux Mint on a Generation 2 Hyper-V virtual machine
- Right click on the virtual machine and select connect.

- Then, when the VM console opens, click Start.
When you start the virtual machine, the installer should show a selection window, but it just flashes and disappears. The way to bypass this is to hit the ENTER key and select the first option. See my second screenshot below. Wait for the installer to load on the desktop, then proceed to step 3 below.


- On the desktop, click on the “Install Linux Mint” DVD. Loading the installer may take a while.

- From this point on, installation should be simple. I’ve included my screenshots as a guide. Note that some choices will depend on your location, keyboard, etc.
My “Installation Type” screenshot has an additional option because I had started the installation but then stopped it.


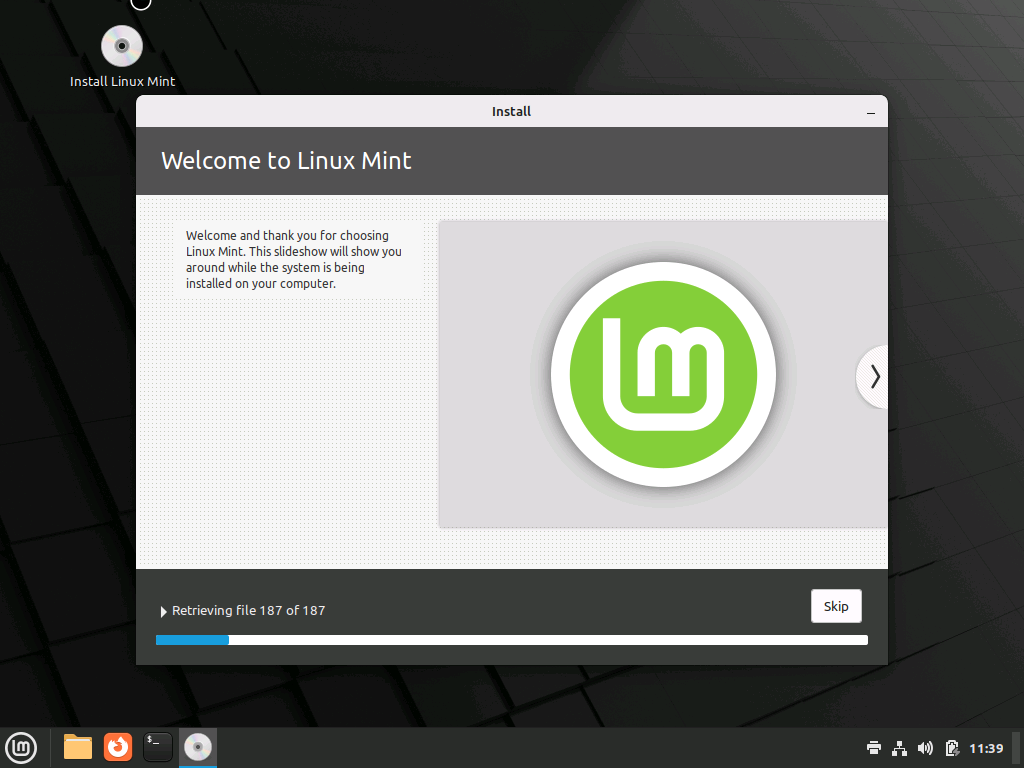
- Finally wait for the installation to complete.
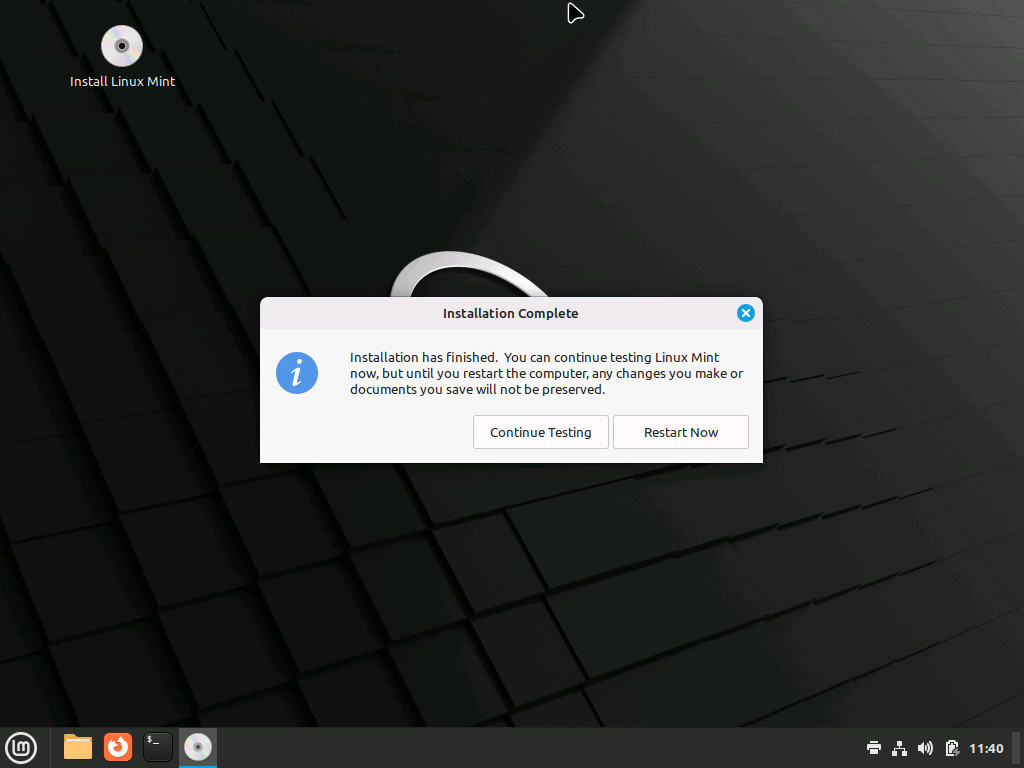
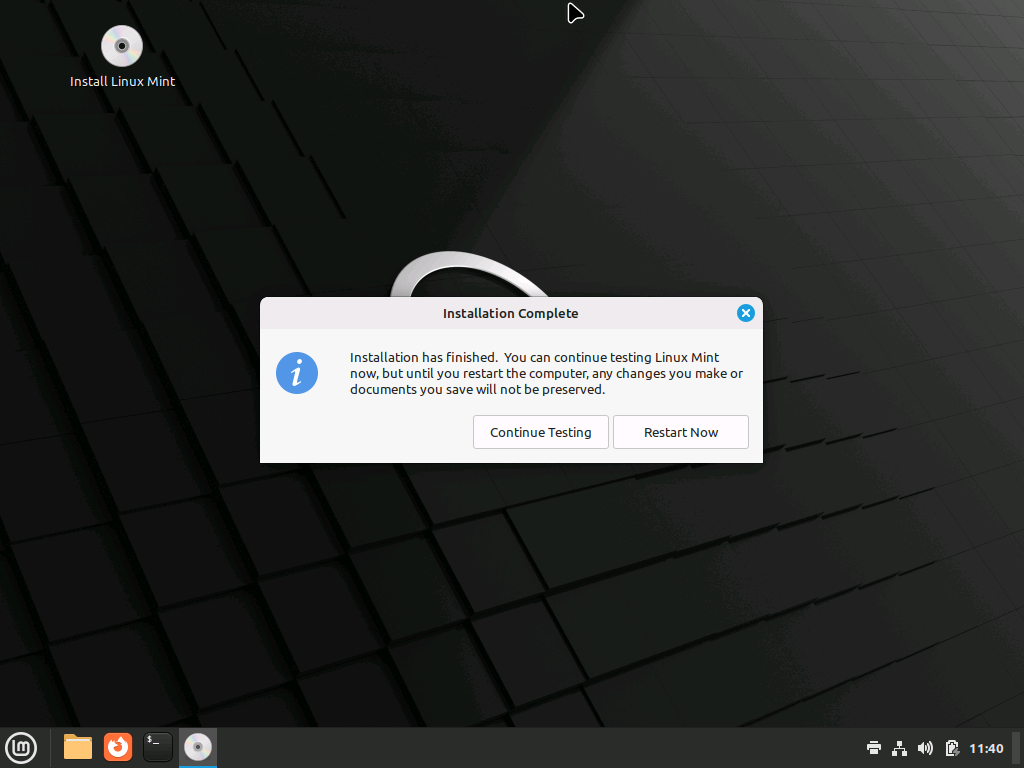
- After Linux Mint installation is complete, click Now reboot.
- The installer will ask to remove the installation media, then press ENTER:
When the operating system restarted, it threw multiple errors. To force it to start, I shut down the virtual machine and restarted it. Finally, I received this welcome message! Close the welcome message and continue with the Linux Mint installation on Hyper-V!

If you have questions or comments, please go to the topic of this article in our forum – [discourse_topic_url].